How To Transfer Facebook Photos To Google Photos
- Go To The Facebook Setting:
Start by tap on the menu located in the top right corner of your screen and scroll down to the bottom of the page where you will find the “Setting” option. Go ahead and click that, and you’re done with step one.

2. Go To Your Facebook Information
Scroll down to the bottom of the page where you will find the “Your Facebook Information” section. Go ahead and click that, and you’re done with step two.
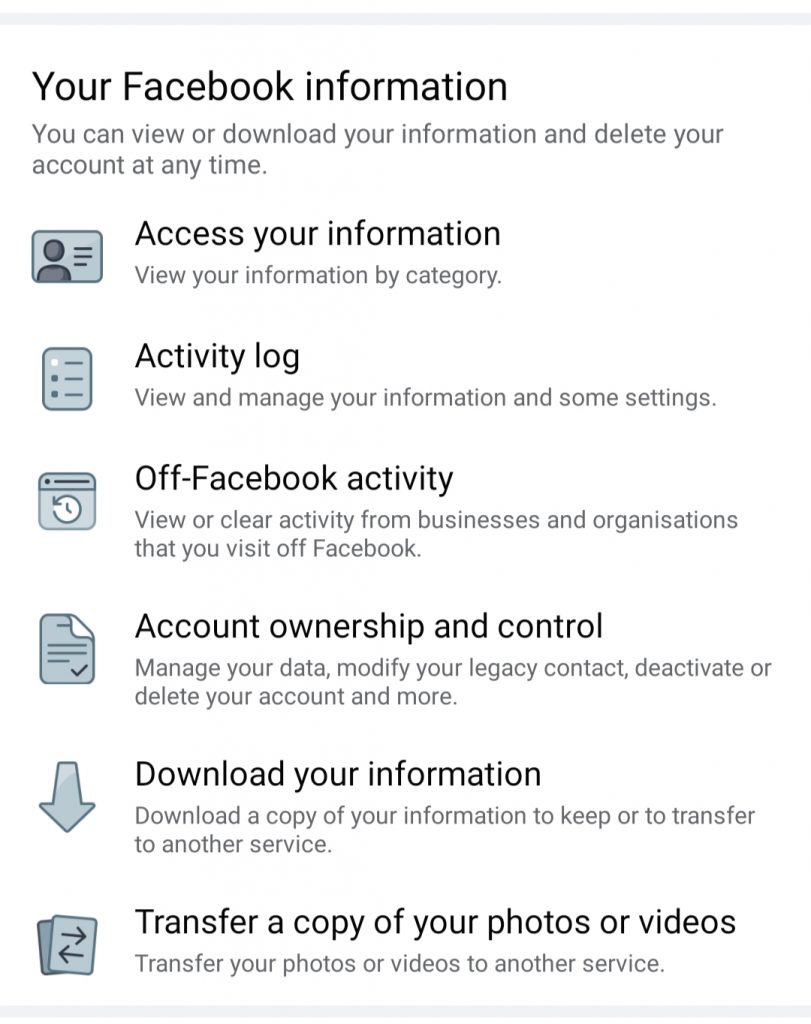
3. Click on Transfer a copy of your photos or videos
Now, let’s get moving to next option.
4. Enter Facebook password:
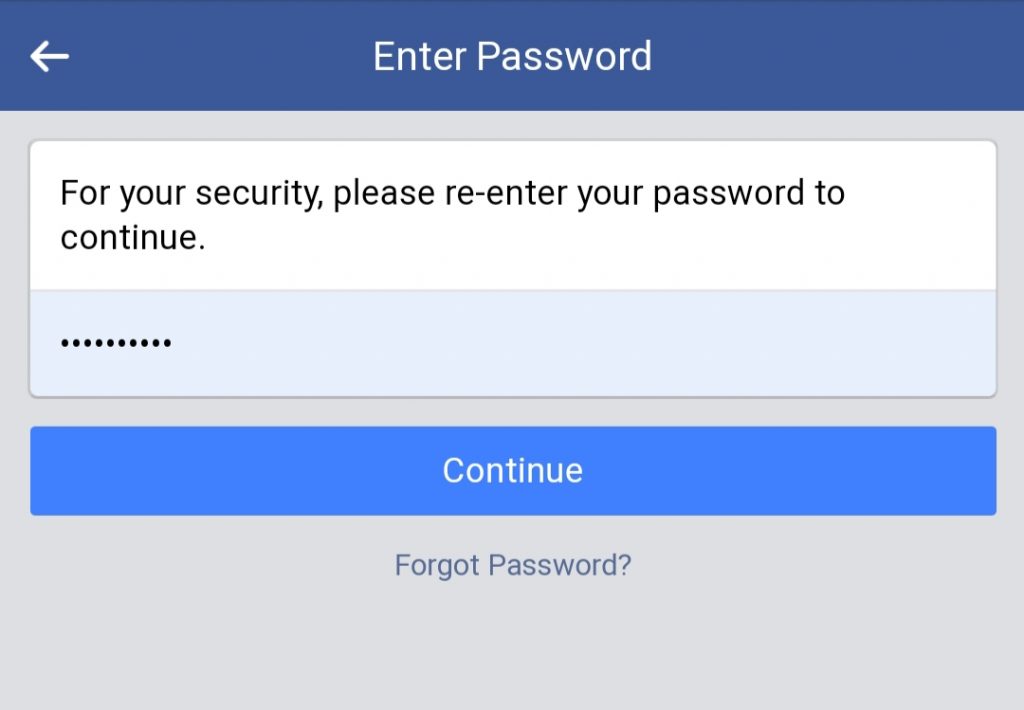
To ensure your identity and surpass the security option, you will have to enter your password.
5. Choose destination:
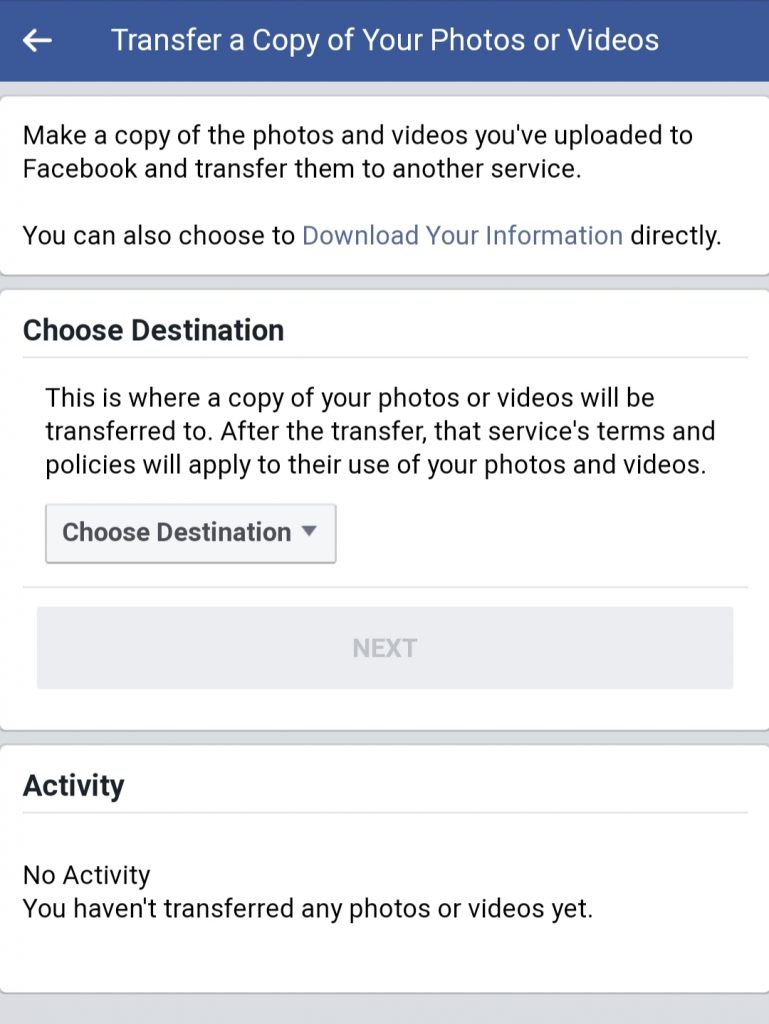
Click on choose destination Then Choose Google Photos

Press Next
6. Sign in with Google Account
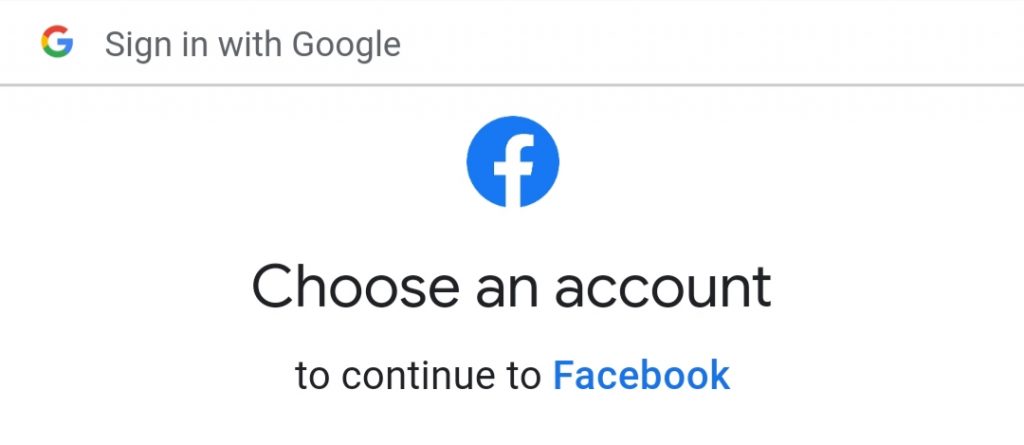
7. Confirm Transfer:
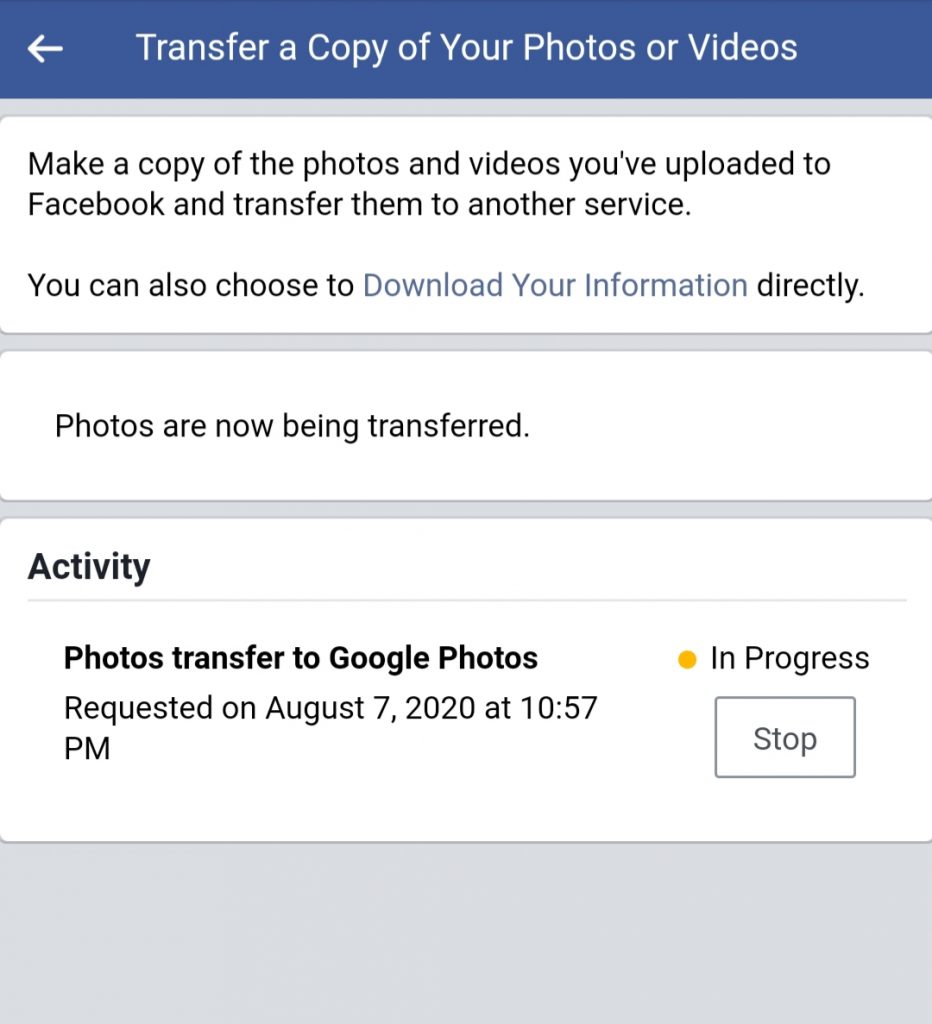
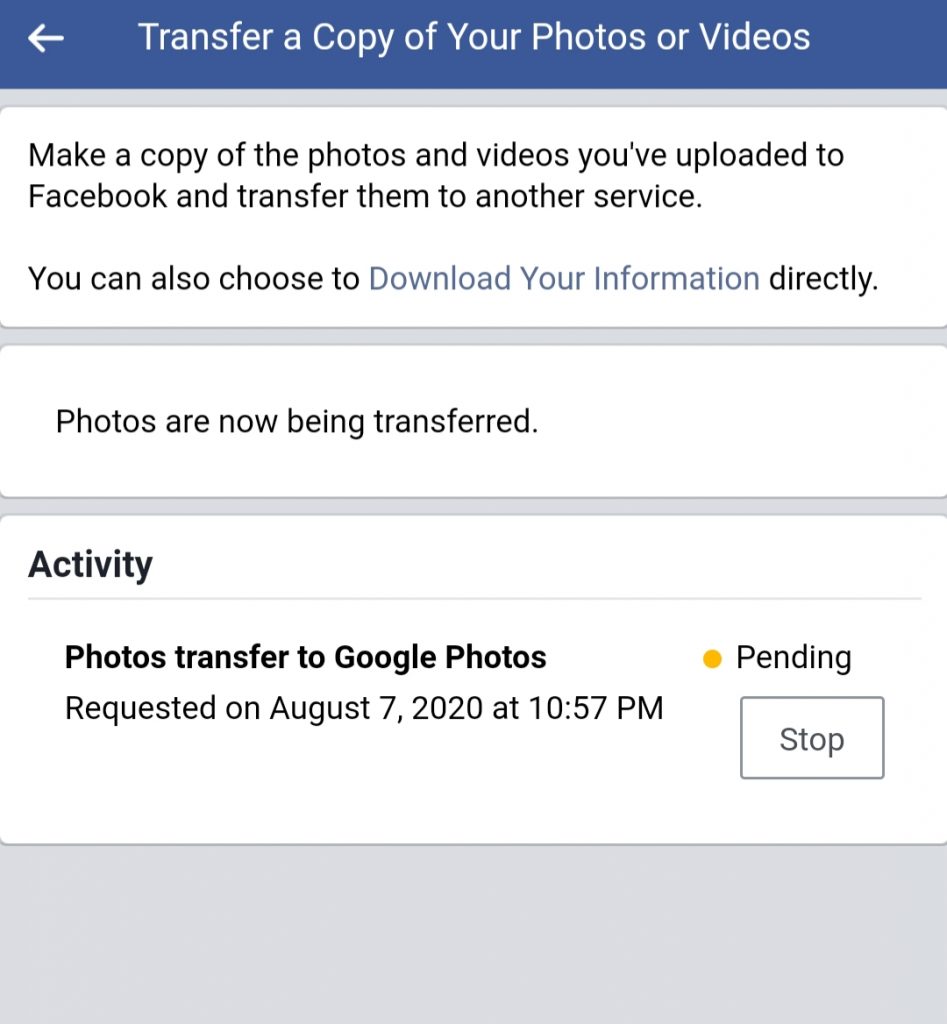
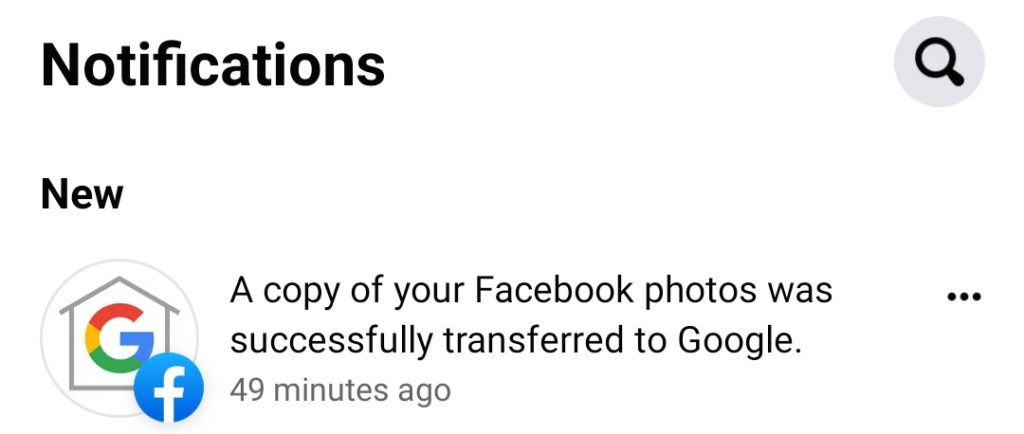
Now, going in for the final step, click the “Confirm Transfer” and peacefully watch the files being transferred to your Google photos
It willl Take sometime.
Read More: How To Start A Blog In 2020 From Scratch [Step By Step Guide Ultimate Guide]
Ultimate Guide : How To Create TransferWise borderless account within 5 Minutes.
